.svg)
Omnipod® 5 and DASH are now available through Endor Health with free delivery and direct insurance billing.
Starting insulin pump therapy is one of the more significant steps you can take in managing your diabetes, and it's completely normal to feel a mix of excitement and uncertainty about what it actually involves. Maybe you've just been prescribed a pump and you're trying to understand what comes next. Or maybe you're researching options for yourself or someone you care for, and you're not sure where to start.
Either way, you're in the right place. This isn't a technical manual, and it won't replace the guidance of your diabetes care team. What it will do is give you a clear picture of the journey from first conversations with your doctor through to what settled pump life actually looks like day to day.
This article is organized in three sections. If you're still exploring whether pump therapy is right for you, or your doctor has recommended pump therapy to you, the first section is for you. If you've already started and are working through the early weeks, skip ahead to the second. If you're past the early weeks and want to understand the long-term rhythm, head to the third.
Not sure which pump to choose? Our insulin pump buying guide walks through every pump available in Canada with full comparisons.
Insulin pump therapy isn't for everyone, and it doesn't have to be. But for many people living with Type 1 diabetes, and some with Type 2 or other insulin-dependent conditions, it can meaningfully reduce the burden of daily management. You may benefit from a pump if:
Common hesitations include not wanting to be attached to a device, concerns about cost, and worry that the technology is too complicated. These are all valid. Most people find the adjustment period takes a few weeks, after which the pump becomes part of the background of daily life rather than the foreground. The cost concern is real but Canada has provincial coverage programs that can significantly offset the expense, which we'll cover shortly.
The best person to help you decide is your endocrinologist or a certified diabetes educator. They can review your current management, discuss your lifestyle, and help you understand whether pump therapy makes sense for where you are right now.
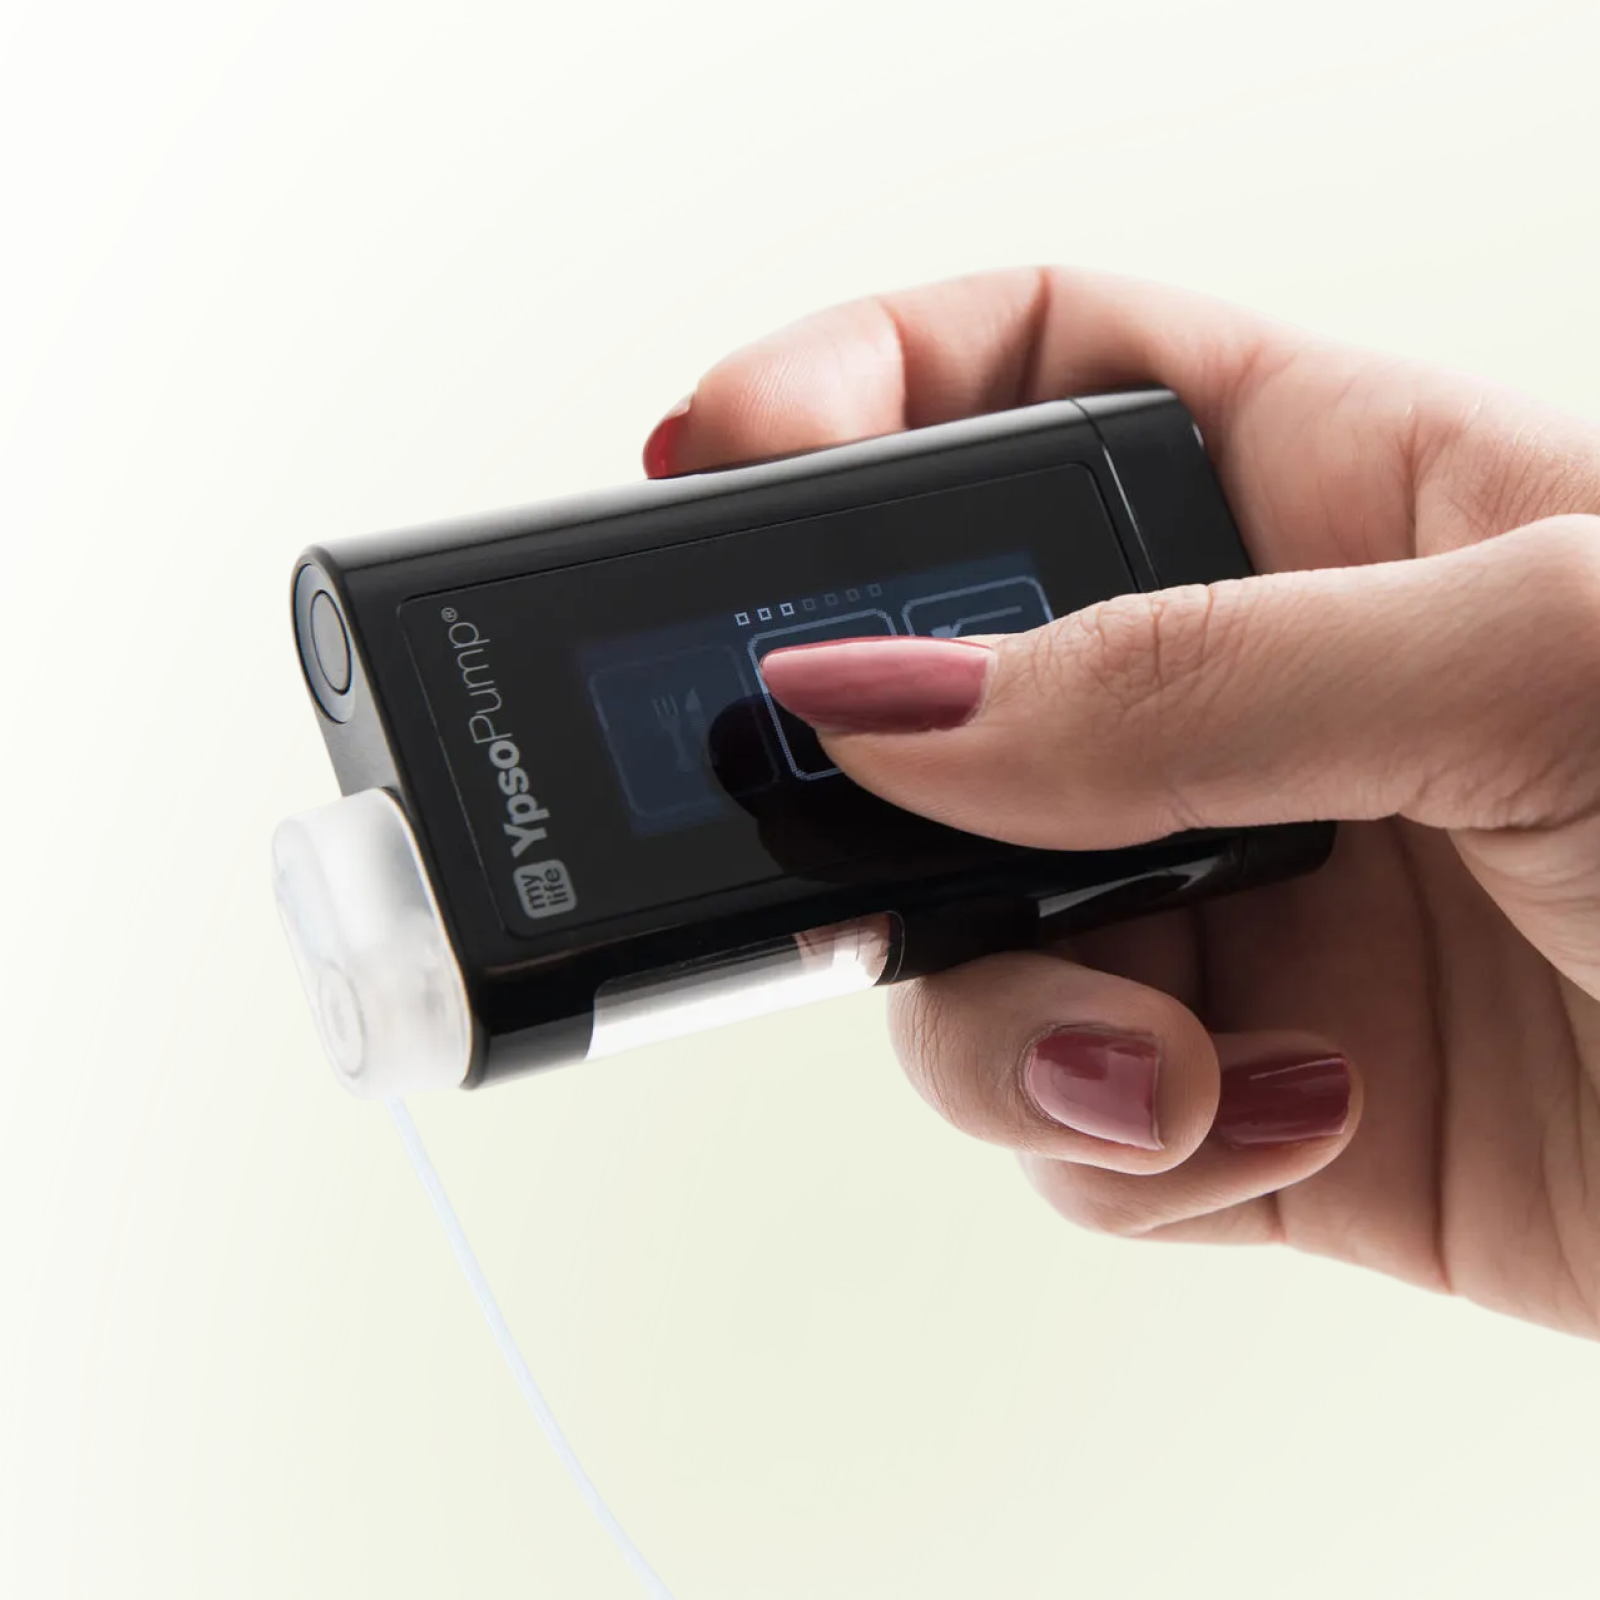
There are currently five major insulin pump platforms commonly available through diabetes programs and clinics across Canada. Four of them are Automated Insulin Delivery (AID) systems, which means they integrate with a continuous glucose monitor (CGM) and automatically adjust your insulin delivery based on real-time glucose readings. The fifth, the Omnipod DASH, is a tubeless patch pump without AID capability.
The main practical distinction most people encounter early on is tubed vs. tubeless. Omnipod systems attach directly to your skin as a self-contained pod, with no tubing connecting them to a separate pump device. All other systems use a small pump worn on a clip or in a pocket, connected to your body via a thin tube and infusion set. Neither is objectively better and it comes down to personal preference and lifestyle.
For a full breakdown of each pump's features, costs, and who it suits best, see our insulin pump buying guide.
Insulin pump therapy is a significant investment. Device costs are often cited around $6,000 to $7,000, and ongoing supplies can cost up to about $300 per month depending on your system and usage. The good news is that Canada has provincial coverage programs that cover most or all of those costs for eligible patients, and many private insurance plans provide additional support.
Coverage programs vary considerably by province. In Ontario, for example, the Assistive Devices Program (ADP) covers 100% of the ADP price of an insulin pump for eligible patients, plus up to $2,400 per year toward supplies. Other provinces have their own programs with different eligibility criteria and coverage levels.
Find the details for your province through our provincial coverage guides.
If you have private insurance, it's worth checking your plan documents or calling your insurer before your pump arrives. Many plans cover a portion of the device and supplies, which can stack on top of provincial funding. Endor handles direct insurance billing for supplies, so once you're set up, reordering is straightforward.
Getting started on a pump is a process that happens with your diabetes care team, not independently. The typical path looks something like this:
Your endocrinologist or family physician initiates the prescription and determines whether you meet the criteria for provincial funding. Requirements vary by province, so your care team will guide you through what applies in your region.
Once your eligibility is confirmed, there's often an approval and waitlist period before the pump arrives, and this can range from a few weeks to several months depending on the program and demand. Use this time to read, ask questions, and get comfortable with what's coming. Your care team may also recommend specific pump models based on your current CGM or management approach.
Before you start pumping, your care team will program your initial settings including basal rates, carb ratios, and correction factors, based on your current insulin regimen. These are starting points, not final answers. Expect them to be adjusted in the first weeks.
A note on timing: the approval process for provincial funding can take longer than expected. If you're prescribed a pump, ask your care team about expected timelines early so you can plan accordingly.
Every pump manufacturer offers formal training, typically delivered through your diabetes care team or the company's own clinical educators. Training usually covers how to fill and attach your pump, how to program a bolus, how to set up CGM integration if applicable, what to do if the pump alarms, and how to handle a site failure or occlusion.
This training session is important. Even if you're technically inclined, the details of your specific pump's interface and failure modes are worth learning properly before you're on your own with them. Most people find the training comprehensive but also a little overwhelming, and that's normal. You won't retain everything on day one, and that's fine. The goal is to leave with enough to get started safely, not to become an expert in a single session.
Your pump manufacturer will also have a support line and digital resources you can reference after training.
If you're a parent, spouse, or partner of someone starting pump therapy, attending training is strongly encouraged. In an emergency or moment of confusion, a caregiver who knows the basics can make a real difference. Key things to be across:
Before your first site change, make sure you have everything you need. Running out of a single component can interrupt your insulin delivery, so it's worth being stocked up from the beginning.
The first week is the hardest part, and it helps to know that going in. Blood sugars will likely fluctuate more than usual, and sometimes significantly, as your care team works with you to adjust your settings. This is expected and it doesn't mean the pump isn't working. It means you're in the calibration phase.
A few things that catch people off guard in week one:
Keep a loose log during week one. Note when you change sites, what you eat, any correction boluses you give, and any unusual readings. This information is genuinely useful for your first follow-up appointment.
Most people start with the abdomen, which offers reliable absorption and is easy to access for insertion. As you get comfortable, you can expand to the outer thighs, upper buttocks, and back of the arms. Rotating through different sites in each area is important: using the same spot repeatedly leads to scar tissue buildup over time, which impairs insulin absorption and makes readings less predictable.
A practical rotation approach is to work in a grid pattern across each site area, moving about a finger-width with each new set. If you're using your abdomen, for example, work across the left side one week and the right side the next.
For detailed guidance on cannula length, insertion angle, skin prep techniques, and adhesion tips, our infusion sets guide is the right reference.
The habits you build in the first month tend to stick, so it's worth being intentional about a few things from the beginning.
Change your infusion set every two to three days, on schedule, even if it seems to be working fine. Extended wear increases the risk of site infections and absorption problems. Steel needle sets should be changed every one to two days. Some extended-wear sets are approved for up to seven days, and your care team will let you know if those are relevant for your pump.
Keep a buffer stock of supplies rather than reordering when you're down to your last set. Shipping delays happen, and running out of infusion sets or reservoirs while you're managing your glucose is stressful. A two-to-four week buffer is a reasonable cushion.
It's also worth keeping a backup kit at home in case of pump failure or interruption. Your care team can advise on what's appropriate for your situation, but commonly recommended items include:
Stay engaged with your care team in the early weeks, even if things seem to be going reasonably well. Your basal rates and ratios will likely need multiple rounds of adjustment before they feel right. Don't wait until your next scheduled appointment to flag patterns that seem off, and most diabetes care teams want to hear from new pump users proactively.
After the first month or two, pump therapy tends to settle into a rhythm that most people find significantly less demanding than multiple daily injections. The major recurring tasks are:
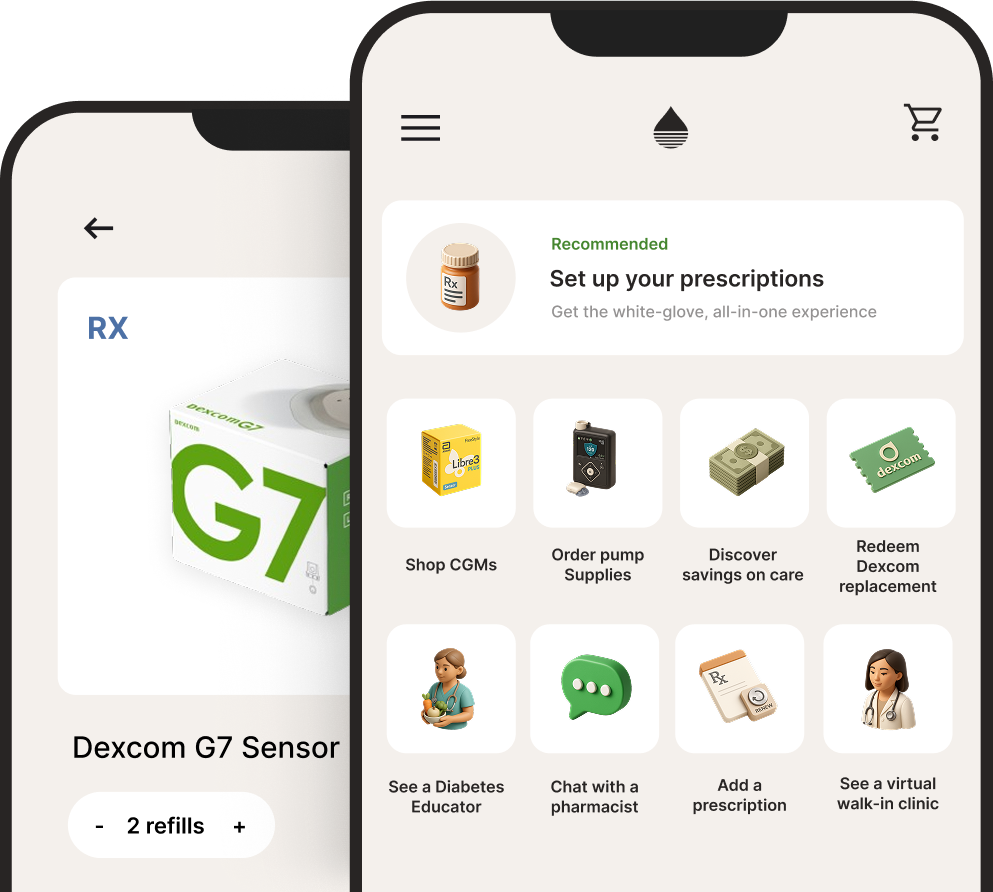
The ongoing supply cadence is one of the more practical things to get right, because running low creates unnecessary stress. Endor makes this easier with direct insurance billing and free delivery, so reordering doesn't add friction to your routine.
Most people also find that their pump settings continue to evolve over time, and not just in the first weeks, but seasonally, with changes in activity level, or after illness. Staying in regular contact with your care team, even when things are going well, helps you stay ahead of those shifts rather than reacting to them.
Provincial coverage programs typically require annual or biennial renewals, and your eligibility may need to be reconfirmed by your care team. Mark renewal deadlines in your calendar, and missing them can interrupt your funding.
If your private insurance situation changes, such as a new employer, a plan change, or a shift in your coverage tier, it's worth reviewing what's covered for pump supplies. Some people find that a change in employment creates a gap in coverage they weren't expecting.
Our provincial coverage guides are a useful reference for understanding what your program covers and how to manage renewals.
Most pump-related problems are manageable at home, but a few situations warrant a call to your diabetes care team:
The general rule is: when in doubt, check in. Your care team would rather hear from you early than manage a problem that's been building for a week.
What pump therapy looks like long-term
For most people, the changes that matter most aren't dramatic. They accumulate quietly. Fewer injections. More stable nights. Less mental arithmetic around every meal. The device that once felt unfamiliar becomes part of the background.
Pump therapy doesn't remove diabetes, but it can smooth its sharpest edges. For people using automated insulin delivery systems, severe hypoglycemia tends to become less frequent and overnight glucose patterns more predictable. The cognitive load of daily management decreases over time for most users.
It takes time to get there. Settings evolve, habits form, and confidence builds gradually. With good preparation, realistic expectations, and a care team you trust, pump therapy can become one of the more meaningful tools in long-term diabetes management.
The information in this guide is for educational purposes only and should not replace advice from your healthcare provider. Always consult with your diabetes care team before making changes to your diabetes management.


.svg)